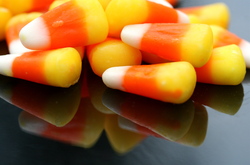
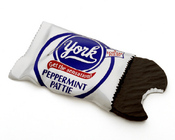
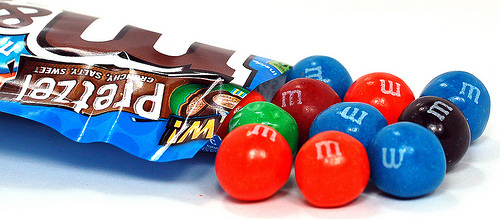
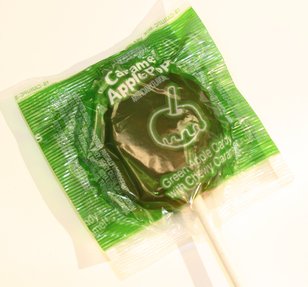
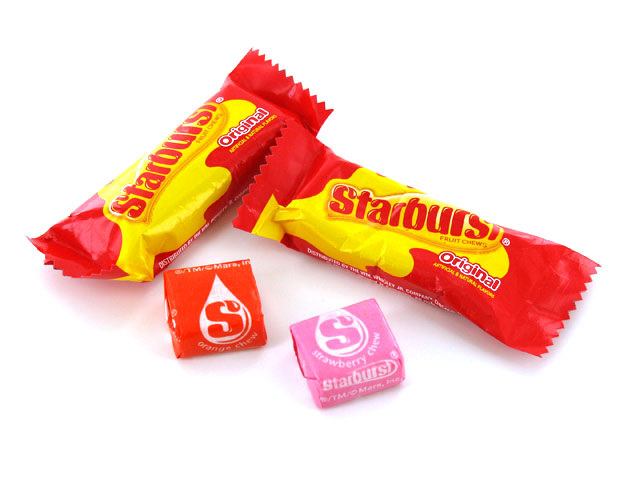
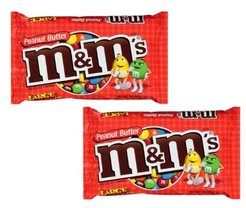
 Now I know I promised in the next Art Of Halloween series a project and I will share it as it will be just as great for Thanksgiving too; but I came across an article of what I thought had some vital information. You see if you are anything like me you miss going Trick Or Treating as a kid. So you may be tempted to dress up and hunch down and brave the door to door faking the "I swear I'm a teen"..."really"...or settle for second best and eat the left over bowl of candy you doled out to the kiddies. Maybe you are one of those who sneaks into your kids treat bag and say...well maybe just one. Well this post comes just in time for you. Being a big kid means that the treats you choose out of the bag goes straight to the hips, belly and god knows that booty train following behind on low steam. I swear I have a caboose on top of that. Consider these numbers: Three miniature Reese’s Peanut Butter Cups fill your belly with more sugar than a glazed doughnut "Get in my Belly!"; half a pack of Skittles has more sugar than a scoop of Haagen-Dazs Cookies and Cream Ice Cream; nine Twizzlers carry as many calories as a Wendy’s Double Stack Burger. That’s scary! Here are some after Hallows eve tips; tit for tat which treats to choose that wont go straight to fat. Just swap outlined here just once and you’ll see, nearly 400 calories saved would be better for thee.
These are all of course just suggestions but you will be able to see the above and recognize them at a glance. Staying healthy is hard when you have so many health issues like me. Look at your body and mind and understand what a creative piece of fragile artwork you are. Try to make wise choices and most important of all: Be safe on Halloween. Wear reflective gear. Take flashlights. Use reflective tape on treat bags. Be aware of your surroundings at all times. Have fun! 
0 Comments
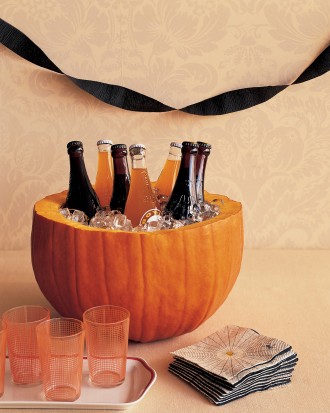 This is part 6 in a series based on The Art of Halloween Preparation. I want to share with you a fun homemade Ice Bucket. As you can see on the right this is the finished product. Super simple to do as you can see but we will cover the basis anyway just in case you are design challenged like me lol. You need to get a rather large pumpkin and make sure that it sits well on the bottom. You don't want it to tip over with your ice and drinks in it. Using a knife you will cut around the pumpkin cutting off the top 1/3. To make a perfect cut you can thumb tack a string on the 1/3 cut spot and wrap it around the pumpkin back to your starting point. Make tick marks along the string with a sharpie. You can vary the look by cutting pointed teeth across the top or a wave. When done with your cuts remove the top and clean out the guts. Save your Seeds for baking! Nothing more healthy than pumpkin seeds and delicious too. Then just fill with ice and add drinks if you wish. A very artistic touch for your table that is simple to do. Now want to try something else? Draw a face or design on your pumpkin with the sharpie. Or glue on pieces of decorations like buttons, ribbons and sparkles to decorate how you want. You can also cut pieces from the left over top to make ears and eyes. Just a reminder to try and use permanent colors as the pumpkin will get wet from use and anything non color fast will run dye onto your table cloth. Now that would be the kind of gory mess you don't want. Hope you are enjoying these economical ways to enjoy Halloween. Next time we will talk about a fun way to carve mini pumpkins that is cute as a button and a whole lot easier to do.  As I work my way through learning 3D rendering on my own I occasionally come across some incredible mini videos that makes me say "OMG I want to be this good some day." So sit back and watch my new FAV mini movie called "A Tale of Momentum & Inertia" . Maybe some day I will get this good...Enjoy! 
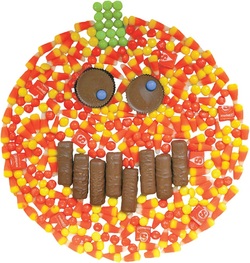
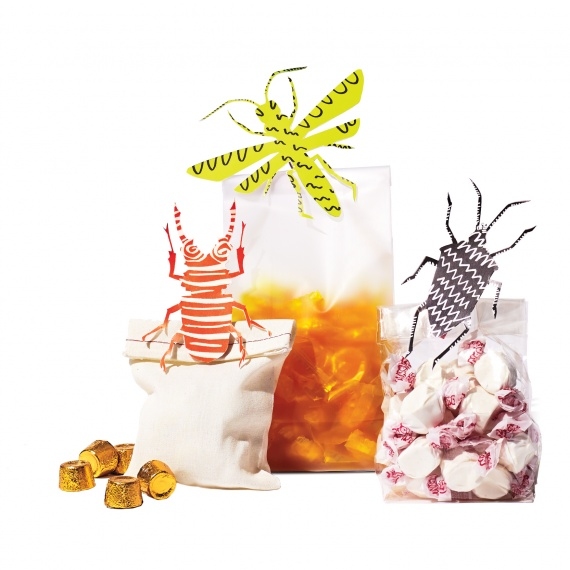
What?! Yep and many other sizes for a great price. When you get 100 it means you will have more for another project somewhere down the line. You can find them here: http://www.giftsintl-us.com/cellobag.php Next you will need some clothes pins. The old fashioned wood kind would be best and you can get them anywhere even the grocery store. You will need one per bag. Then head on over to the freebie page and find some bugs to print out. You can find them under the Halloween section or under insects. Or try any of the other fun Halloween images we have or make your own bugs like the ones pictured. Print them onto Card stock and you and your child can color them together. Cut out, then glue a standard clothespin to the back of each. Portion out store-bought candy and one of your jars of homemade slime, (See Halloween Prep4) into the small cellophane or little paper bags and pinch each closed with a bug clip. Walla! Simple, adorable, fun! Best part? An inexpensive way to impress the kids coming to your door making them want to come back for more. Nothing is more fun then hearing a child say to his friends "This is the house I told you about last year." Join us for The Art Of Halloween Preparation Part6 where we will design awesome Indian Corn Treats using images from GrafXQuest. Thanks for coming all the way from your place to mine today.  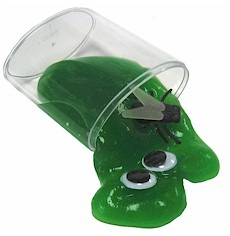 This is part 4 in a series based on The Art of Halloween Preparation. I want to share with you a fun alternative to candy to give to your trick-or-treaters and or to make with your kids. These are also great party items for treat bags for classes. We will cover homemade treat bags later in the series but today we are going to cover making Ooze that you can use! As you can see on the left this is the finished product. You can add flys, googly eyes or plastic spiders and eyeballs and you can get these items at the Dollar store! 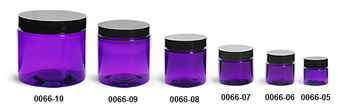 There are many jars you can find and use for this project. I am including this link for the fun purple jars on the right. I have ordered from this company before and the product was excellent quality and inexpensive. The 4 oz. jars they have in the purple would be perfect for our project since they look so Halloweenie and yes "Halloweenie" is a technical term. Please note that I do not endorse any company but I will point out where I got things as well as any good deals I find. In this case you can get 24/4 oz. plastic purple containers with lids for $13. 92 not including shipping. If you do the math it comes out to less than .60 cents a jar. Now depending on if you want to use this as a party favor or for trick or treating these will go over great since they are so cute. I am so digging the purple over the clear. The 4 oz. jars are unit #0066-08. Here is the link for the jars: http://www.sks-bottle.com/fin133y.html Moving on. To make your own Ooze you will need the following; Note this recipe is for each jar or you can split it so adjust accordingly: Jars with Lids 2 Tsp Guar Gum (available at Health food stores) 2 Tsp Borax 5 1/2 cups Hot Water around 110 degrees (So boil and let sit a bit till it cools down) A few drops Green food coloring Strainer Spatula Print out labels; Double sided tape for this or a glue stick to adhere labels to top of jar. To make the slime you will take the Guar Gum and stir it together with green food coloring and 4 cups of hot water in a glass bowl (Glass;to assist with non staining and cleanup). Once the concoction is mixed you will push this green stuff through a strainer with your spatula to remove any lumps. Set this aside. Next take your borax ( Adults only here) and mix it with 1 1/2 cups of water till its dissolved then slowly stir it into your Guar & Green booger mixture. I know you were thinking it at this point come on. Once mixed let it cool down in the glass bowl. Now all you have to do is decant it into your awesome purple containers and add your plastic creatures. I also found some cool "Slimy Spider" Labels on Martha Stuarts' for Slime which I have included here for you to print and add to your lids. Or you can make your own using our cool free Vintage images. Just secure with double sided tape or glue stick.
Now the cautionary to ruin your fun. Just remember this stuff can stain so be sure to supervise play, keep off clothes, carpets and pets. Do not eat it and its not for kids under 3-4 years of age. Borax, sodium tetraborate decahydrate, is not acutely toxic and a very significant dose of the chemical is needed to cause severe symptoms or death. Even so please please use caution when mixing it with the water. Do no breath the fumes and make sure only an adult does the borax step so as not to breath in fumes and or powder. Borax is after all a cleaning chemical and I say always err on the side of caution. As like anything too much of a good thing can be harmful. Have fun at your own risk. Join us for The Art Of Halloween Preparation Part5 where we will design cute treat bags using Vintage images from GrafXQuest. Thanks for coming all the way from your place to mine today. 
|
About this page.
Life in general is an art and I will show you how to find the beauty in everything you see and do. Subscribe and receive a free weekly download and updates. Archives
May 2019
Categories
All
Are you able to donate a $1 through PayPal to help assist this artist in keeping this extensive site alive. It is all out of pocket and costs over $50 a month to finance. If you enjoy this site it would really help. Thanks in advance! |
||||||||||

 RSS Feed

|
|
©1996-2022 GrafXQuest LLC All Rights Reserved.
|
|