By: Lady T Powers & JetPens 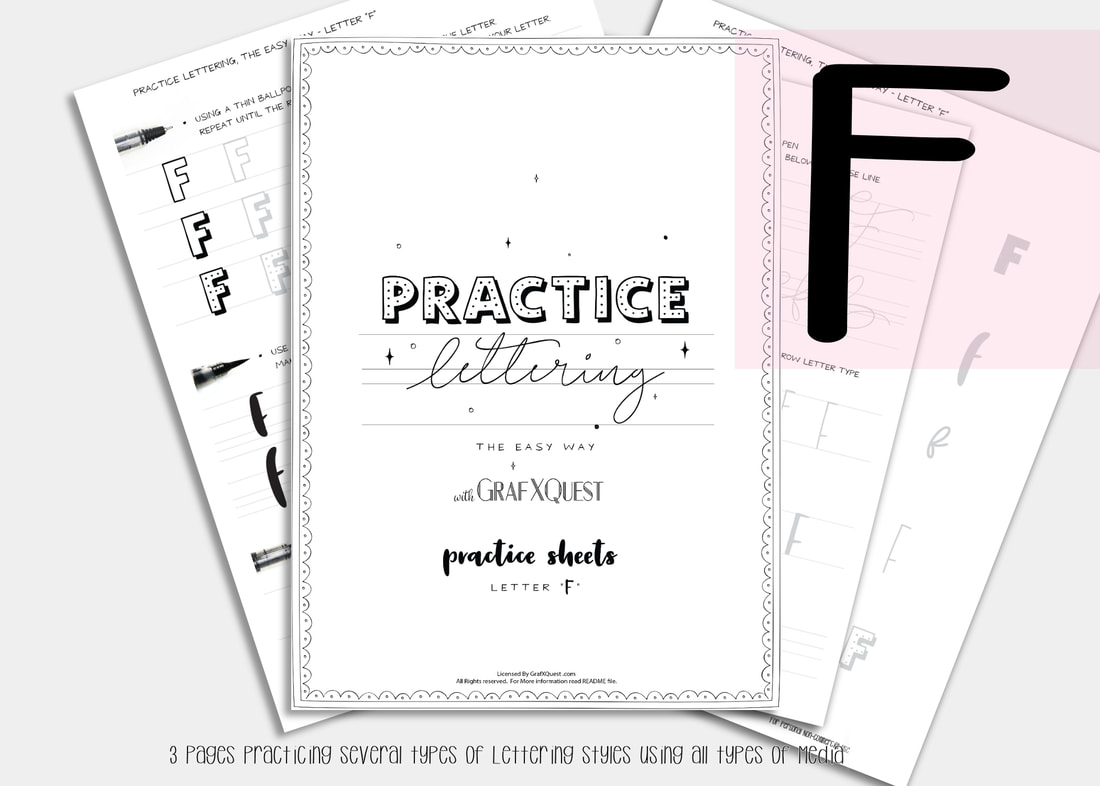 Now For the letter F Several posts ago we started you out with some practice sheets so you can start getting the feel of playing with lettering. You will also be able to print those sheets out as many times as you like to have extra space to practice the above lesson. You can get them here: Practice Sheets. You can also see the previous posts you missed starting with the Letter A here : Lesson A Get the print outs here: Letter A Printouts , Letter B Printouts , Letter C , letter D, and letter E Printouts! Want to share these with someone else? We ask that you do not share our files, instead share our link above to this post. Thanks. Be sure to read the first post for letter A as it will have some important hints to help you along with the rest of these lessons. Lets Move on to to the letter F. Following the instructions laid out in our last posts on the letter A, B, C,D and E be sure to print out your letter F files to follow along. The Letter F Lesson will be available free until October 26th 2018, at which point it will then become a $1 to help support the site. All lessons in this blog are for letter formation and tips for learning Hand lettering and may apply indirectly towards the kit you are working on. However these lessons should assist in most if not all cases in developing your lettering skills with these lessons. We will assume you now have read the posts on the letters A,B,C,D and E plus have printed out your F files and practice sheets, and are ready to work! Today we are going to talk about best brush pens for lettering and calligraphy. PART1 Beginners 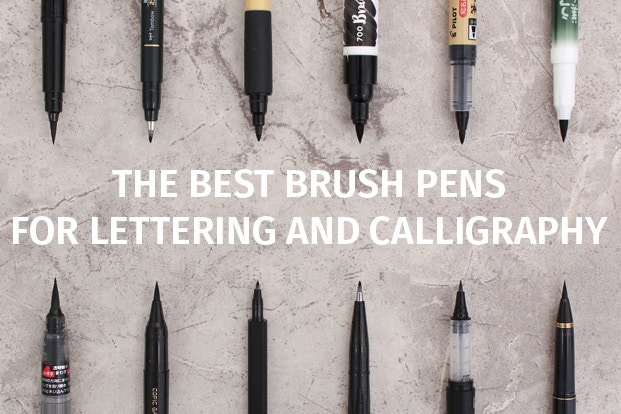 It takes practice and control to use a brush pen, but you don't have to be a serious artist or calligrapher to create beautiful script. There are many different types of brush pens to choose from and I've compiled a guide to help you find some of the best brush pen for calligraphy. Read on to see our top recommendations for brush pens that suit beginners, dramatic lettering, and Asian calligraphy.
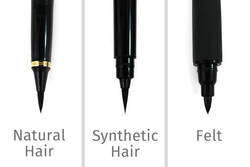
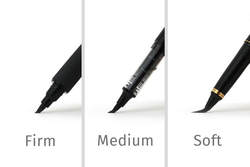
Beginners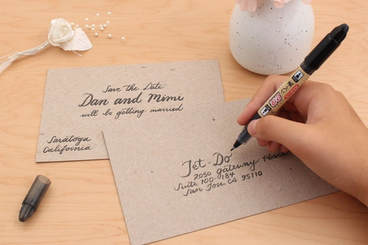 Most people are familiar with the feel of a firm felt-tip marker and intuitively know how to control them. Good brush pens for beginners are more marker-like than brush-like. If you’re a beginner, try brush pens with firm tips for easy control and predictable strokes. With some practice, you too can create the beautiful lettering featured on social media.
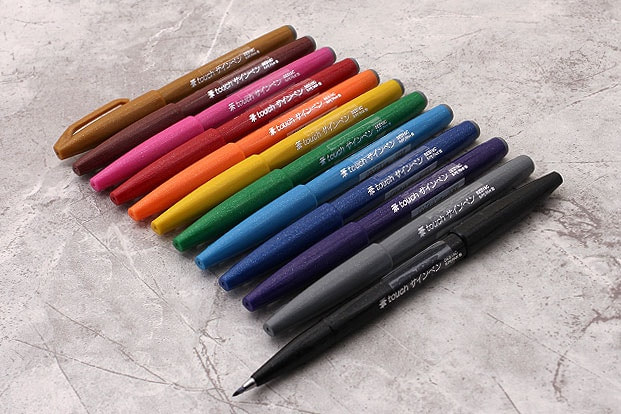
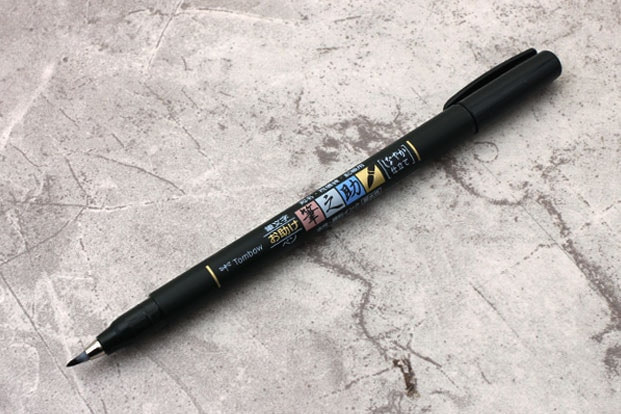
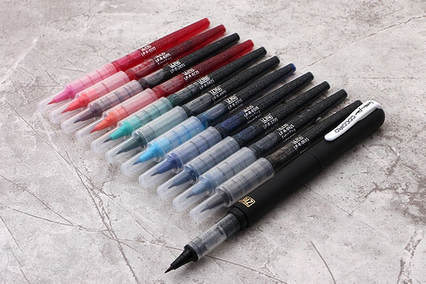 In Japanese, “Kokoro” means heart and “iro” means color. This is the CocoIro which was specially created for customizing your pen to match your heart and mind. You have plenty of color options for building a pen that’s truly your own, from the pen bodies to the ink refills. the refills come in 11 colors. The CocoIro’s extra fine tip is flexible, but also firm enough that it’s easy for newbies to create thin, elegant letters. Available in 11 different colors, the ink is water based and water soluble. The separately sold bodies have streamlined bullet shapes and soft surfaces. To assemble a CocoIro pen, remove the transparent cap from the refill and insert the nib into the pen body. Screw the threads of the refill and that of the pen body together firmly. 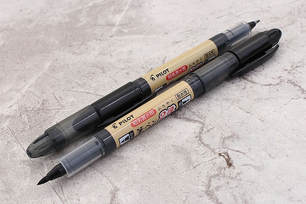 Our last and second favorite choice for beginners is the Pilot Futayaku which means "two uses" in Japanese. This double-sided pen has two hard felt tips, one medium and one fine. Both tips will create seamlessly tapered lines with the right amount of pressure. The medium tip is softer and more flexible than its fine counterpart. The pen’s ink delivery is constant and juicy. The ink itself is a satisfying opaque black color. It offers some water resistance but isn’t entirely waterproof. Also, keep in mind that its 30-second ink drying time is slower than some of the brush pens mentioned in this guide. Next time we will continue this post with Dramatic Lettering for beginners and the letter G. Will you Share your work with us? We would love to feature you. Contact us with what you have done so far and submit your images to us as well as any tips or hints you have found so far in your journey with us.
We hope we have given you some additional insight into developing your hand-lettering. Have fun working with the Letter F practice sheets. I highly suggest printing them on to HP Printer Paper, Premium 32. Now that you have the right pens (hints on practice sheets too) begin following the directions on your F Sheets. The entire alphabet will soon be ready to purchase as a complete set. Until then G it was good seeing you! Need Additional Space to practice? Don't forget your calligraphy practice sheets, that track the pen type you use and has six brackets set up for practicing whole lines or single letters. See you next time! Thanks! ~ Lady T
0 Comments
By: Lady T Powers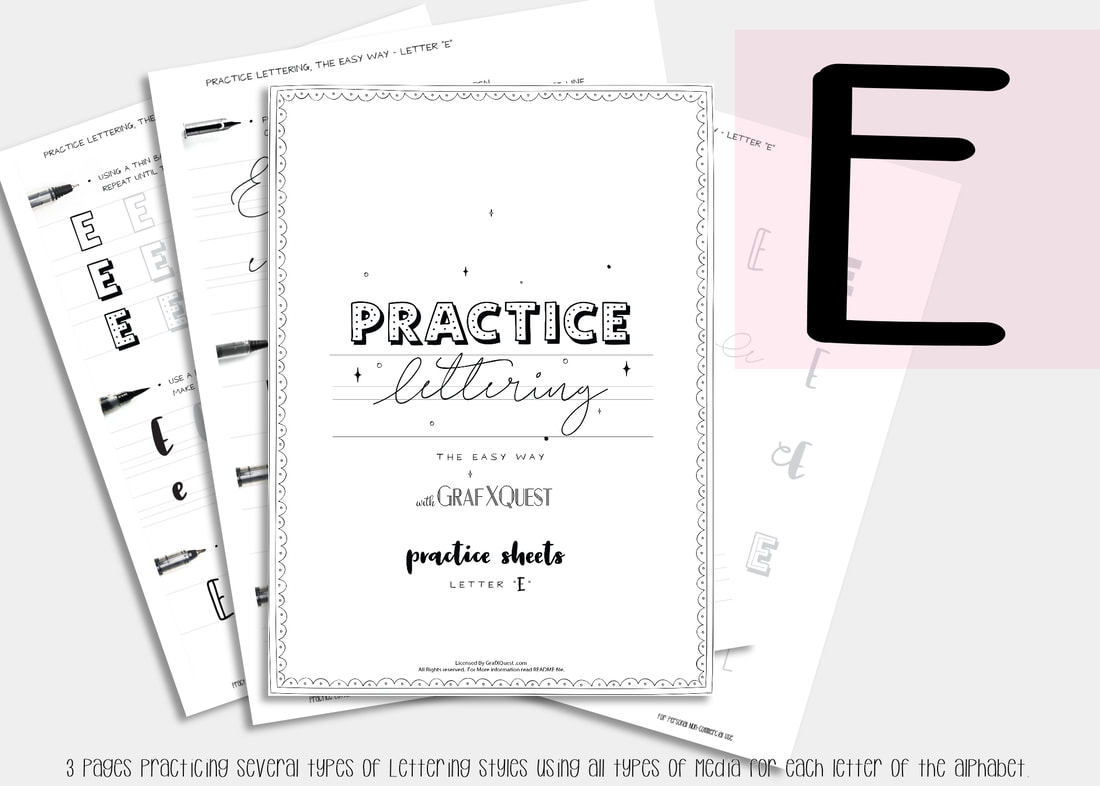 Now For the letter E Catch up time! Haven't started the Lettering classes yet? For this week only catch up for free and download letters A-E for free. Read on to find out how! Several posts ago we started you out with some practice sheets so you can start getting the feel of playing with lettering. You will also be able to print those sheets out as many times as you like to have extra space to practice the above lesson. You can get them here: Practice Sheets. You can also see the previous posts you missed starting with the Letter A here : Lesson A Get the print outs here: Letter A Printouts , Letter B Printouts , Letter C Printouts, letter D Printouts and now letter E Printouts! Want to share these with someone else? We ask that you do not share our files, instead share our link above to this post. Thanks. Be sure to read the first post for letter A as it will have some important hints to help you along with these lessons. Lets Move on to to the letter E. Following the instructions laid out in our last posts on the letter A, B, C and D be sure to print out your letter E files to follow along. The Letter E Lesson will be available free until October 19th 2018, at which point it will then become a $1 to help support the site. For a limited time get kits A-E for free until October 19th 2018. Add them all to your basket and then use code CATCHUPletters at check out to get them free. All lessons in this blog are for letter formation and tips for learning Hand lettering and may not always apply directly towards the kit you are working on. However most of these lessons should assist in most if not all cases in developing your lettering skills. We will assume you now have read the posts on the letters A,B,C and D plus have printed out your E files and practice sheets, and are ready to work! Today we are going to talk about paper types when lettering.
Here are the categories we will cover:
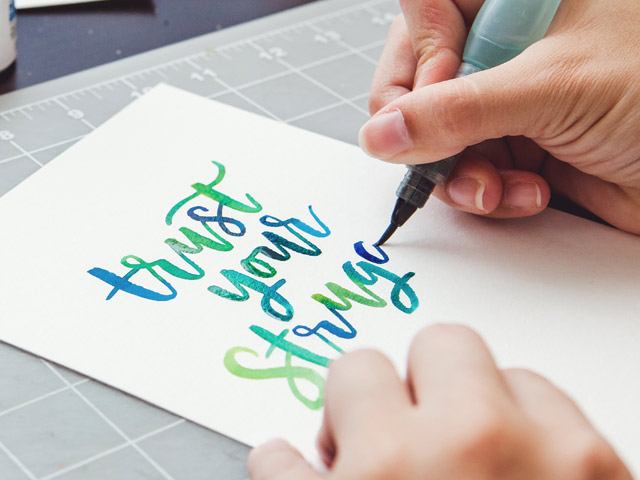
This is based on personal experiences and there will always be better options out there, if you found something better out there please comment below to share with others! The difference between papersThe first noticeable difference in papers is made by touching them. Some of them are smooth to the touch and others are rougher, and on top of that on some papers you can spot the grain difference just by looking at them, or holding them up to the light. Depending on the lettering tool you wish to use you will pick a certain type of paper, however, we will talk more about it in a few moments.
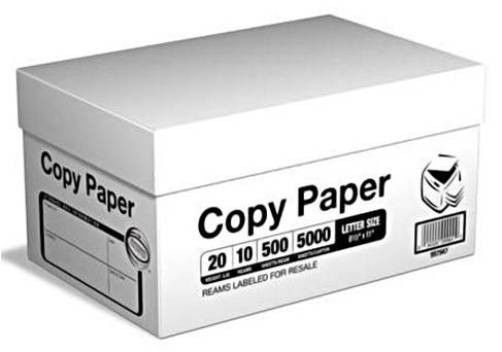
Another benefit from using smooth, bleedproof paper is that you are preventing fraying of the brush tip.  Fraying causes the brush pen to lose the original elasticity which makes the transition between thick and thin much more challenging. Regular copy paper has longer and more coarse fibers which are literally tearing apart your brush tips with every single stroke that you are making. Using bleedproof paper, the ink from the brush pen will not spread on the paper which will keep your lettering nice and crisp. Remember that these benefits are mostly related to felt tip brush pens. Best papers for calligraphyNow let's talk about some of the best papers for calligraphy. I will also mention some of the most popular calligraphy tools and what paper is most suitable for that specific tool. Brush pens (felt tips) – as we already mentioned at the beginning, the best paper for your brush pens is smooth, bleedproof (non-absorbent) paper. Here are a few different brands that you simply can’t go wrong with :
Here are a few recommendations for watercolor paper for hand lettering:
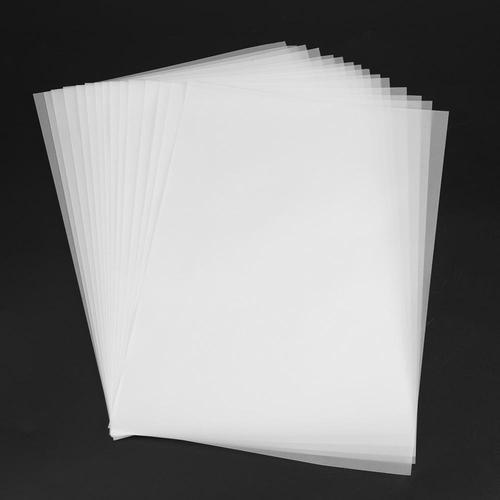 Best paper for hand lettering.You may or may not know, but hand lettering and calligraphy are two different things. Calligraphy is the art of beautiful writing while hand lettering is the art of illustrating letters (drawing each shape separately). Essentially this means that for hand lettering you mostly use different tools compared with calligraphy. Another great investment for your hand lettering when we talk about paper is tracing paper. The great thing about tracing paper is that it works wonders in combination with a light tablet – you can literally endlessly refine your piece, or at least until you are satisfied with it, just a like layers in Adobe Photoshop. 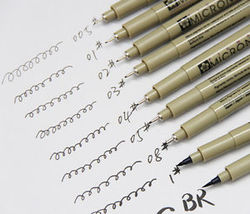 The most essential tool for hand lettering is a pencil, and alongwith the pencil an inking tool is used such as the Sakura Pigma Micron pens. In that case you can even use regular copy paper as it wont damage your tools.
Now that you know more about which paper to choose be sure to find the right pens for your lettering style by practicing and using the correct papers to save your investments! Share your work with us? We would love to feature you. Contact us with what you have done so far and submit your images to us as well as any tips or hints you have found so far in your journey with us. Join us again soon for the Letter F. We hope we have given you some additional insight into hand-lettering. Have fun working with the Letter E practice sheets. I highly suggest printing them on to HP Printer Paper, Premium 32. Now begin following the directions on your E Sheets. The entire alphabet will soon be ready to purchase as a complete set. Until then F you next time! 😲 Need Additional Space to practice? Don't forget your calligraphy practice sheets that track the pen type you use and has six brackets set up for practicing whole lines or single letters. See you next time! Thanks! ~ Lady T |
About this page.
Life in general is an art and I will show you how to find the beauty in everything you see and do. Subscribe and receive a free weekly download and updates. Archives
May 2019
Categories
All
Are you able to donate a $1 through PayPal to help assist this artist in keeping this extensive site alive. It is all out of pocket and costs over $50 a month to finance. If you enjoy this site it would really help. Thanks in advance! |


 RSS Feed

|
|
©1996-2022 GrafXQuest LLC All Rights Reserved.
|
|