|
I used this fantastic bundle and I will show you what I created for my store. I was able to design two stationary sets in about 15 minutes using this amazing bundle. I chose to work with the Lisa Glanz "Cute Critter Creator" since it turns out so many new characters just by turning layers on and off in photoshop. Yes it was just that easy. If you click on Lisa Glanz's name you will see a similar portrait creator for people. You will also see she charges $39 for that set alone. However you get her creator Kit plus 28 other kits for only $29. This bundle holds over 27 Gig of creatives to use. Watching the video above you will learn how to use this bundle in many ways. The below images show each individual package you get in this bundle for only $29, that's $1 dollar each! OH! Did I mention it comes with a complete extended license to use for business? And no I am not selling this bundle, I am a RAVING fan! This is one of my prized resource go to places. They sometimes share their new bundles with me to do reviews. To be perfectly honest I feel they are getting the short end of the stick as I can create MILLIONS of designs from this for just a review. What is my ultimate opinion? I cannot live without my DesignCuts bundles. They make my life so much easier. I spend HOURS laboring on new drawings and creations, building my website, advertising, newsletter, social, and CEO. Its very very hard doing it all by myself. When I do not have time to create I use my Design Cut resources. And YES I do buy these bundles a lot. They have sent me goodies in the mail saying, you bought more than anyone else in this last month, thank you! ...OOps can you say junkie? I have scolded them that I have now downgraded from a home to a cardboard box, with net coming via old school from a telephone pole. Sigh...very true...but look what I created in 15 minutes. (See Below) 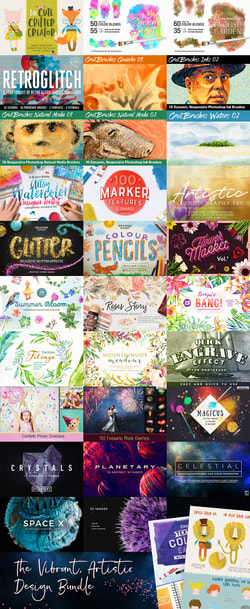
Everything you get in this bundle.
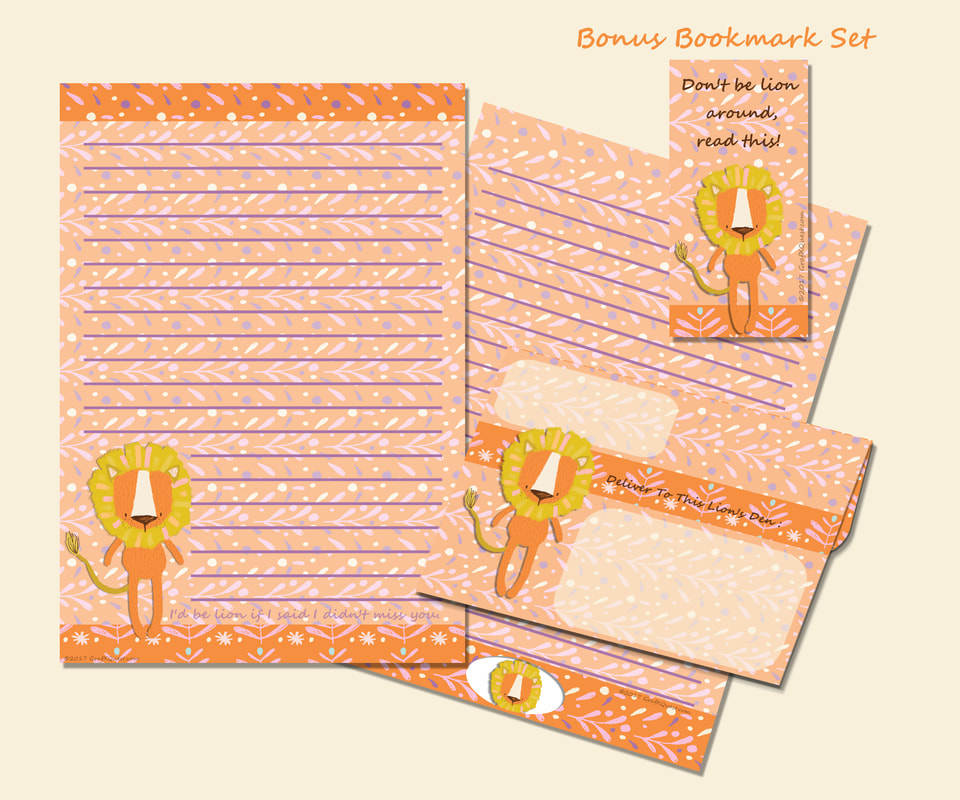
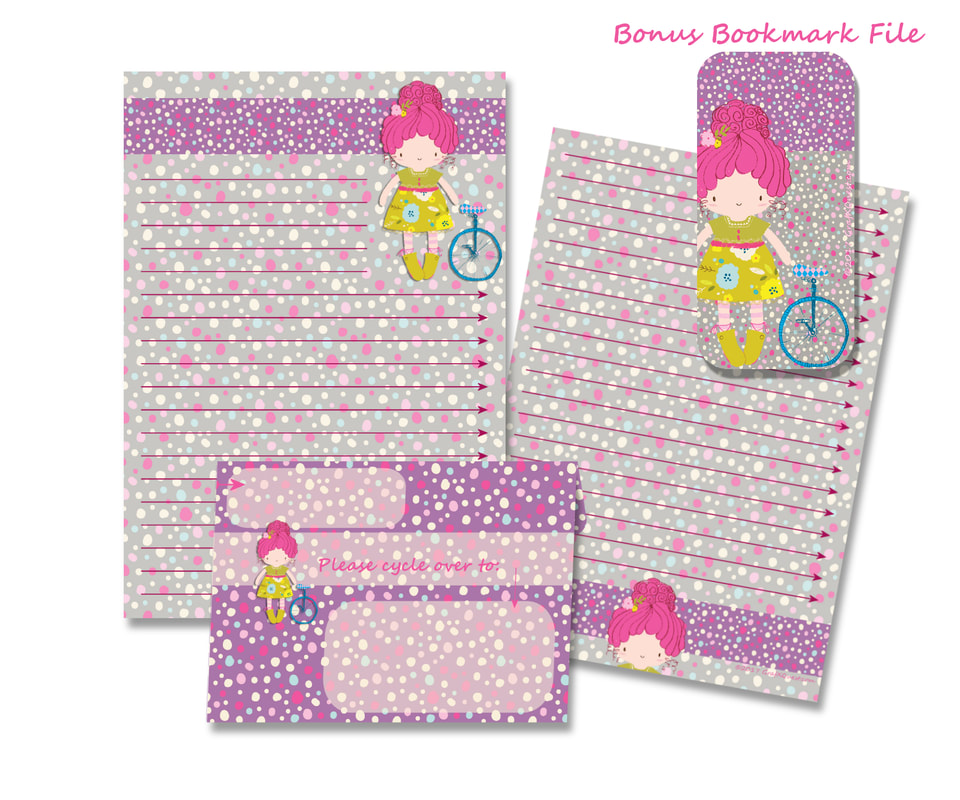
I created these two stationary sets, (both on sale for less than 30% for a limited time) in fifteen minutes. I opened the Lisa Glanz "Critter Creator kit" Which btw it also creates cute boys and girls (above) not just critters. I opened and closed layers to achieve each of the lion and girl creations. Using Photoshop I used Lisa's background patterns to create the papers, envelopes and bookmarks. I then dropped in the critter I created. Lisa includes very detailed instructions on how to use the creator. I was up and running in less than one minute. You choose their clothes, skin color, accessories and more. As you can see I have a lion Stationary set and a Little girl and her unicycle set. Since I need to continually fill my store as well as make creations for my clients providing them with new designs and product for my customers; havingDesign Cuts makes my life easier. Did I say easier? I meant I can breathe!
Check them out, (DesignCuts) they are also very friendly tell them I said HEY and sent you for a deal! Just a quick note though these deals only last about a week then they post a new one. The creator kit alone is worth around $39 so grab it quick if you are so inclined; sometimes you can get the individual packages alone but you will pay almost the $29 for just one of them. Sometimes there is something in the bundle that is never offered in the store so best to get them if you are inspired now. They also take PayPal which I use all the time. Very cool. And once again no I do not get compensation for you getting a bundle. My compensation is saving you time and money and hopes you come back to check us out often! Bye for now Hope you love! ~Lady T
0 Comments
Author: Lady TPowers 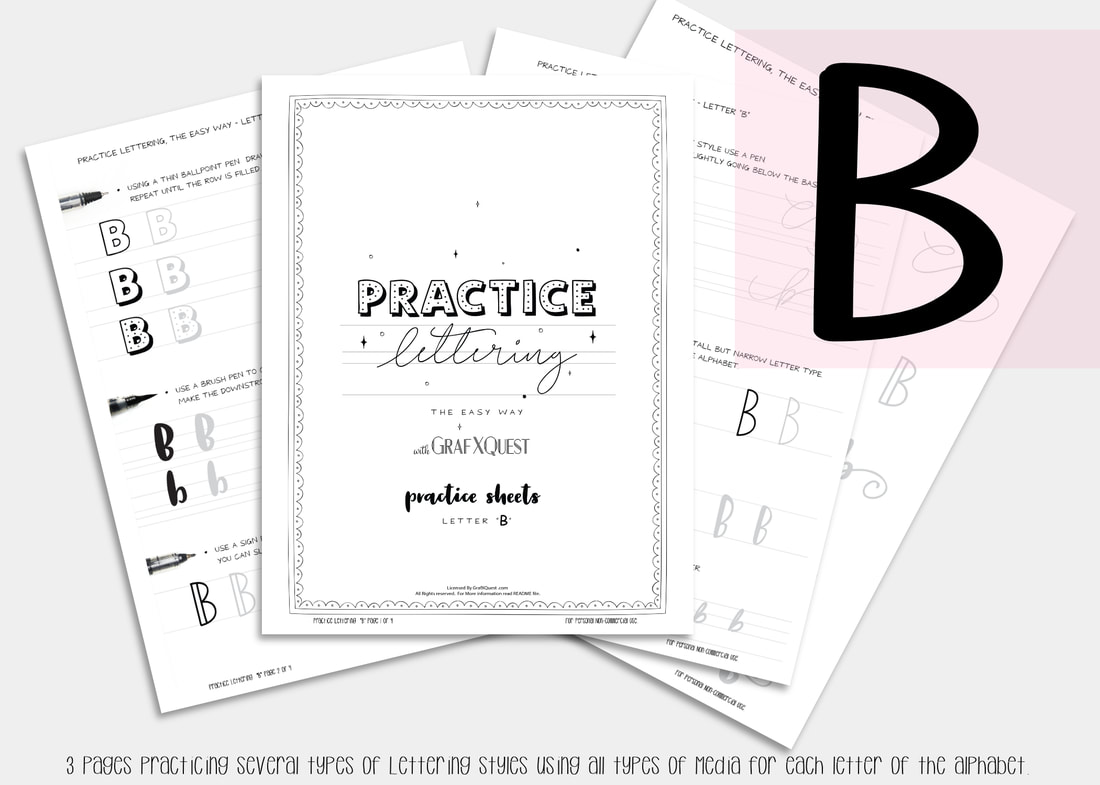 what comes next after a? you guessed it, the letter B!
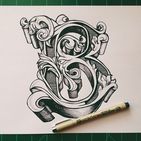
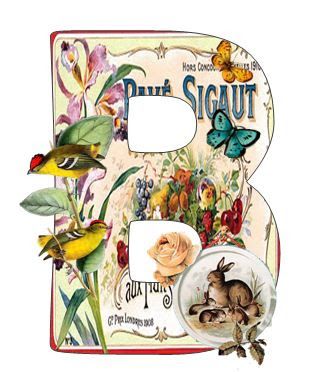
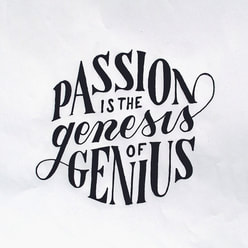
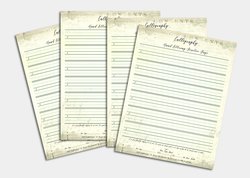
Following the instructions laid out in our last post on the letter A, be sure to print out your letter B files to follow along. Letter B Lesson will be available free until July 21st 2017, at which point it will then become a $1 to help support the site. Moving along we will assume you now have read the post on the letter A, have printed out your B files and practice sheets, and are ready to work! Today we are going to talk about Flourish. Have you heard the word? Flourish simply put, is the pretty little squiggles and lines added to a letter to make it look stylized. If you do a search for the term flourish it states, "noun noun: flourish; plural noun: flourishes 1. a bold or extravagant gesture or action, made especially to attract the attention of others." I found this description funny and very accurate as this is exactly the point of using a flourish on your letters. Adding a flourish to your letters lets it set the mood of whatever message you are trying to convey. Look at page 2 of your B Lesson. You will see that we start working with some flourishes. 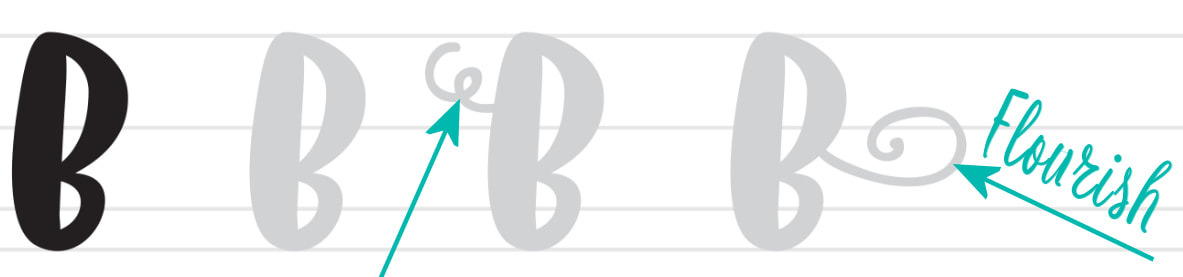 Perhaps you have seen a one page document or a story book where a very heavily flourished letter begins the story. Having a flourished and stylized handlettering can call attention to your note cards, stationary, journals and prints. Sometimes that first letter may even be another color. Sometimes an artist will begin each new line in a short phrase with a flourished letter. Here are some wonderful examples of flourished letters.
Now before going all crazy and trying to do these, understand that they took a lot of work and practice. Start out small with your lesson and work your way up to letters such as above. When you are ready to advance to something like above I suggest investing in a light table, and some tracing paper. Printing out an image like above you can adhere it to the light table, place your tracing paper over it and start trying to mimic the flow of the letter. Remember that the images of letters you find on the internet are more than likely copy-written materials and you will need to develop your own style should you wish to make a living doing hand lettering. However if it is for your own personal use than it is usually ok. When working with your letter B practice sheets try varying the pressure of your pen when doing upward and downward strokes. This can change the look of the flourish and the feel of the letter. Using thinner lines can make it more elegant and using more bold lines can give a strong presence. Flourish is also used between sentences, and added sometimes to an end letter or sentence to wrap around and include the front of the sentence, depending on the length of your message or line. It can also be used to create a border around your message.
|
About this page.
Life in general is an art and I will show you how to find the beauty in everything you see and do. Subscribe and receive a free weekly download and updates. Archives
May 2019
Categories
All
Are you able to donate a $1 through PayPal to help assist this artist in keeping this extensive site alive. It is all out of pocket and costs over $50 a month to finance. If you enjoy this site it would really help. Thanks in advance! |


 RSS Feed

|
|
©1996-2022 GrafXQuest LLC All Rights Reserved.
|
|